

You’re in a hurry and go to reach for the moisturiser, only to knock every other cosmetic onto the floor – we’ve all been there. Makeup storage ideas for small spaces are essential to maintain a bit of order in the mornings – not to mention, they make for pretty dressing table décor. But how do you take these beauty storage ideas and turn them into a reality?
This guide will show you how to make a DIY makeup organiser from reused cardboard. Not only will you finally get your cosmetics in order, but it’ll be a real feature for your dressing table. Read on to assemble the best of our makeup organiser ideas!
How to create your DIY makeup holder
Before getting started on any beauty storage ideas, be sure you have enough time blocked out. For this DIY makeup brush holder, plan about three hours to complete it. Check that you have the following items before you begin so that you won’t be interrupted halfway through:
Things you’ll need for DIY makeup storage:
With this DIY makeup storage idea, you’ll see that Cushelle facial tissues aren’t just for taking off makeup! Follow these steps to create this nifty DIY makeup holder for all your cosmetics and brushes:
What you’ll need
- 4 kitchen paper tubes
- 7 toilet roll tubes
- Empty facial tissue box
- Ruler
- Scissors
- Copper paint
- Marble-effect sticky back plastic
- Glue
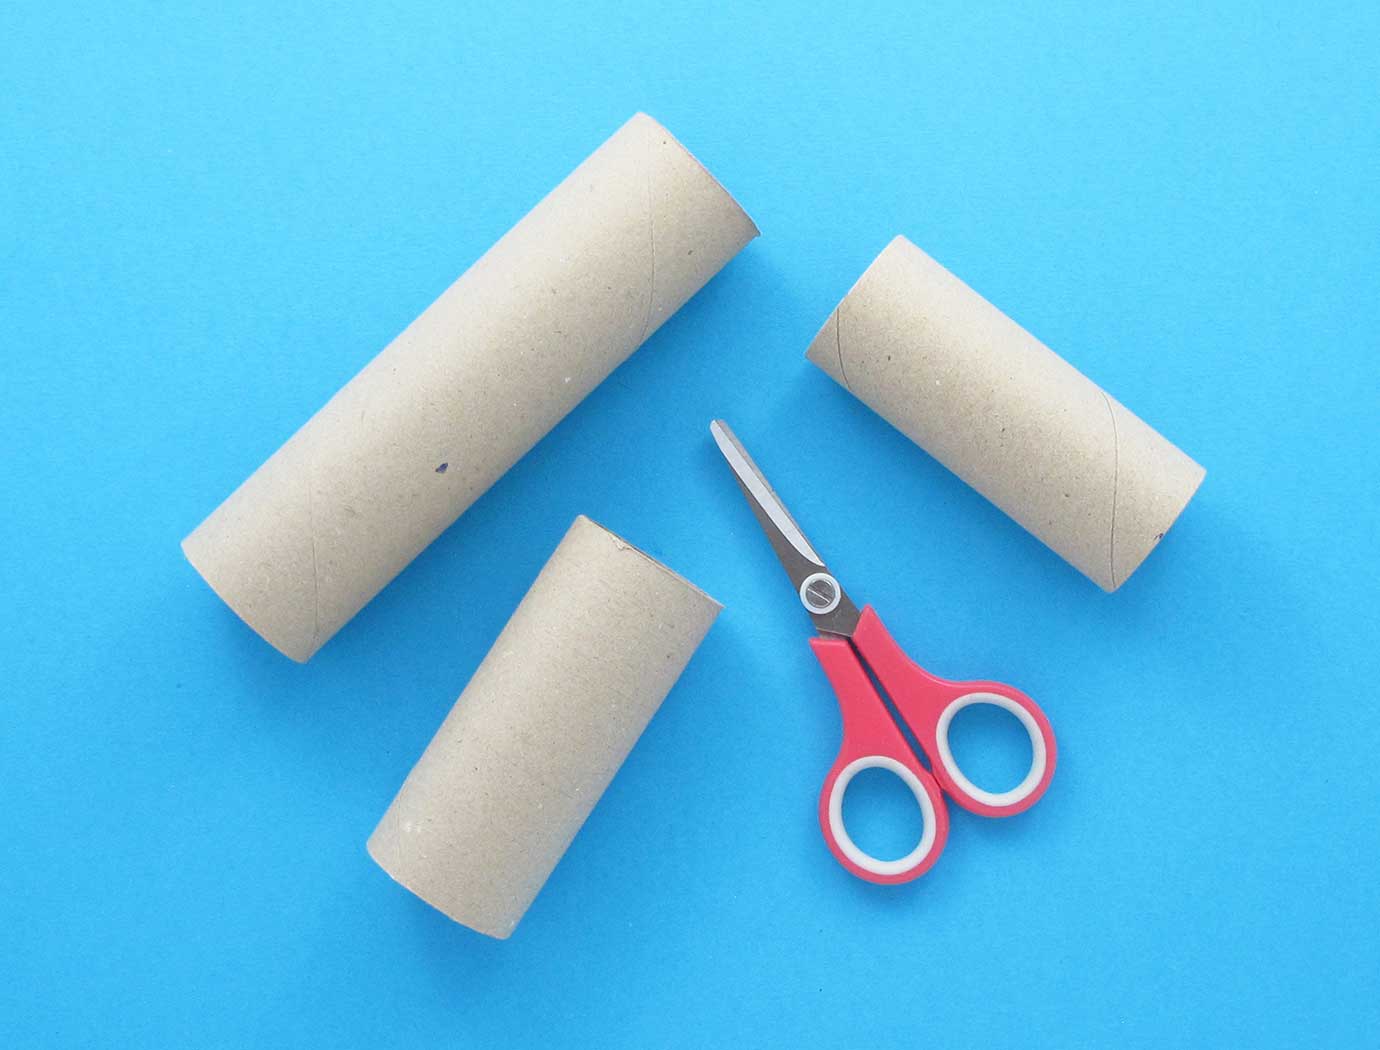
![diy makeup storage 01]() First, measure and cut the kitchen paper tubes down into 2 x 8cm, 2 x 10cm, 2 x 13cm and 1 x 16cm lengths. Then measure and cut 4 of the toilet roll tubes into 2 x 6cm, 1 x 7cm and 2 x 9cm lengths.
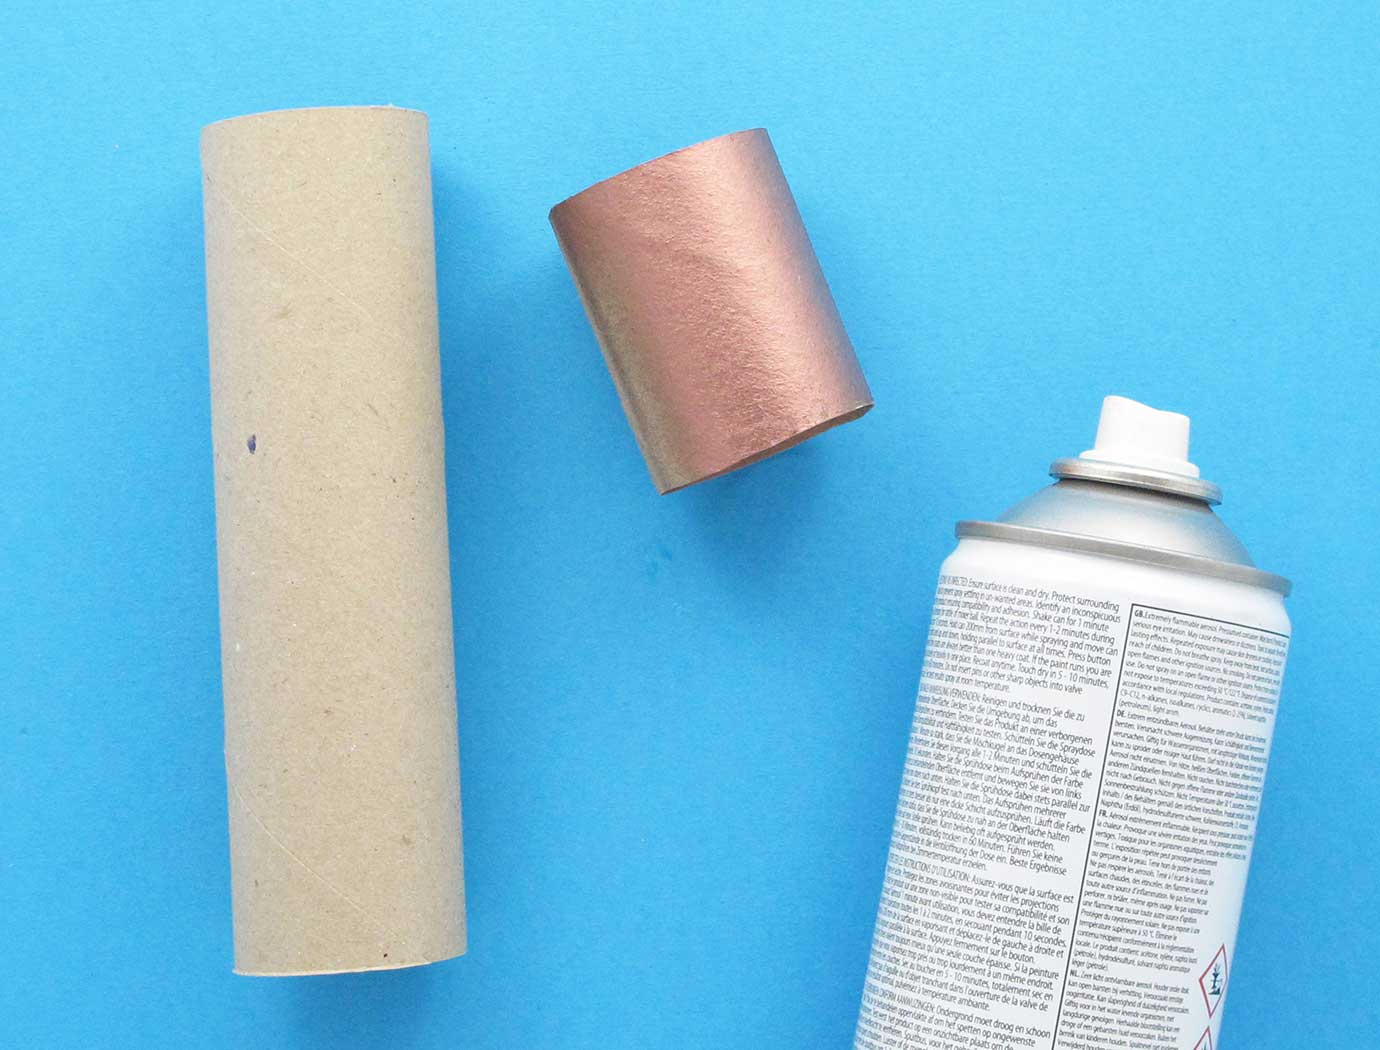
First, measure and cut the kitchen paper tubes down into 2 x 8cm, 2 x 10cm, 2 x 13cm and 1 x 16cm lengths. Then measure and cut 4 of the toilet roll tubes into 2 x 6cm, 1 x 7cm and 2 x 9cm lengths.![diy makeup storage 02]() Next, spray/paint all the tubes copper, inside and out, and leave them to dry before applying a second coat, if necessary.
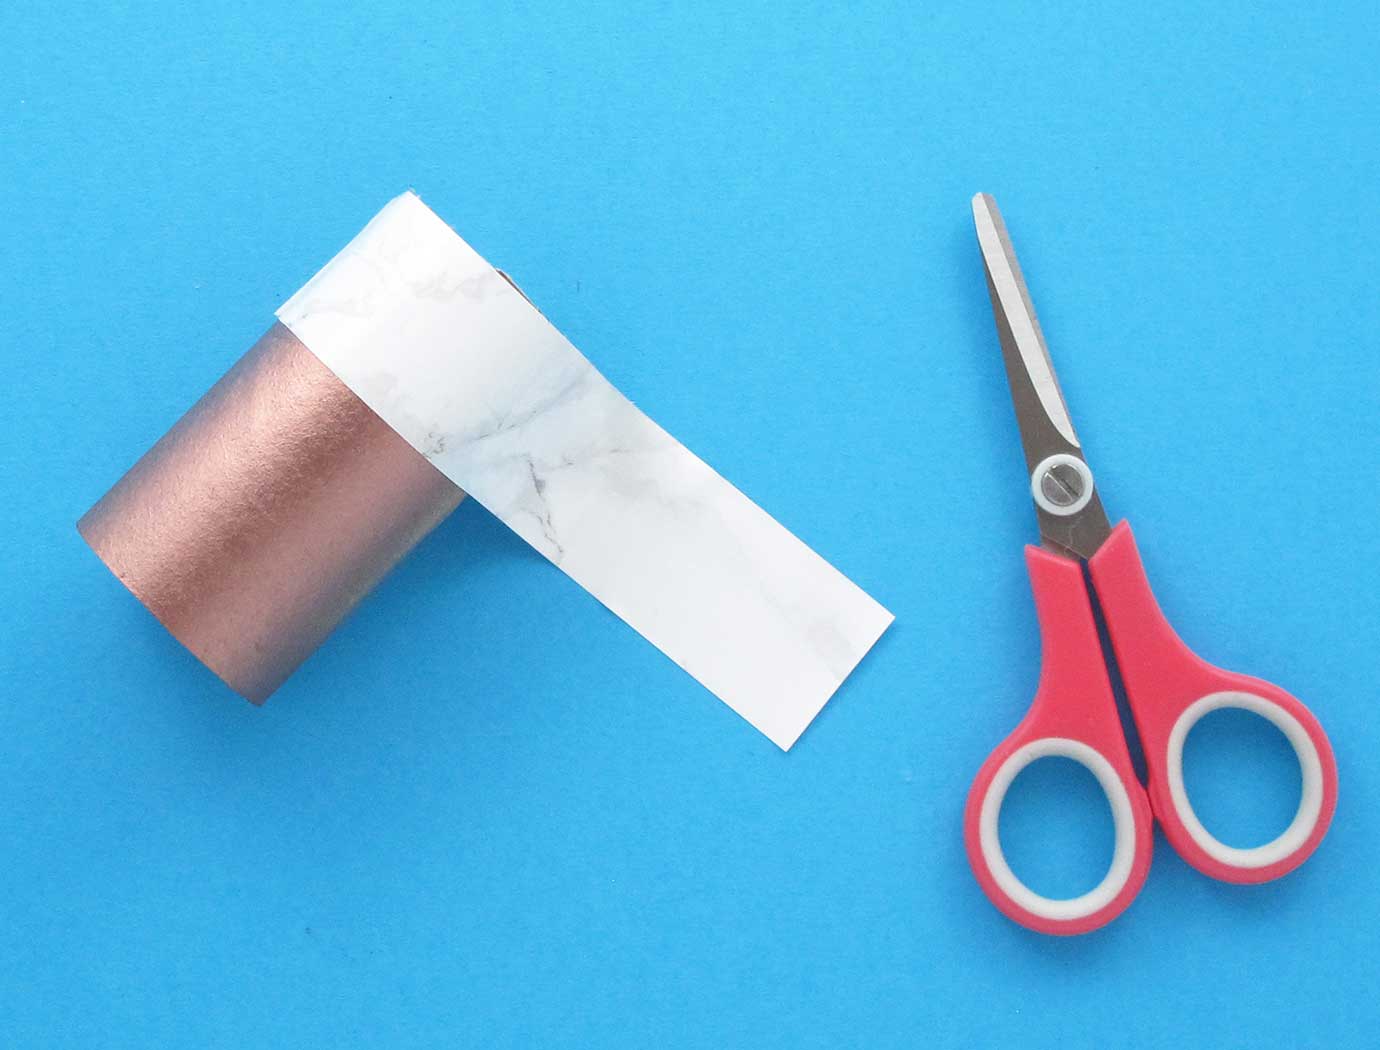
Next, spray/paint all the tubes copper, inside and out, and leave them to dry before applying a second coat, if necessary.![diy makeup storage 03]() Once they look convincingly copper, trim some of the tubes with strips of marble-effect sticky-back plastic and leave the others plain.
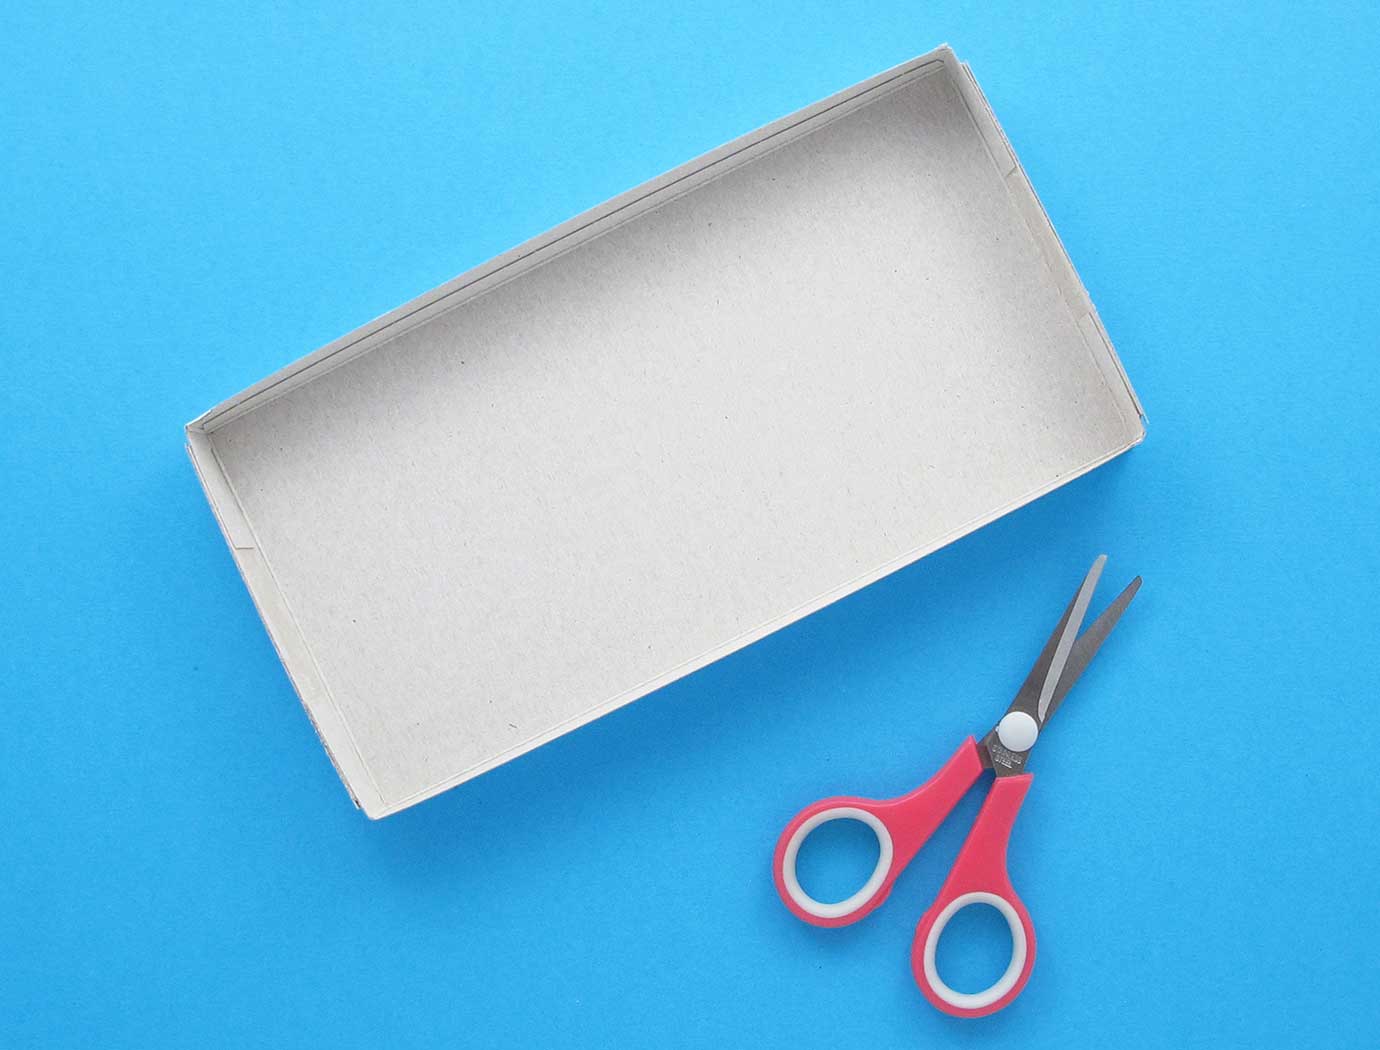
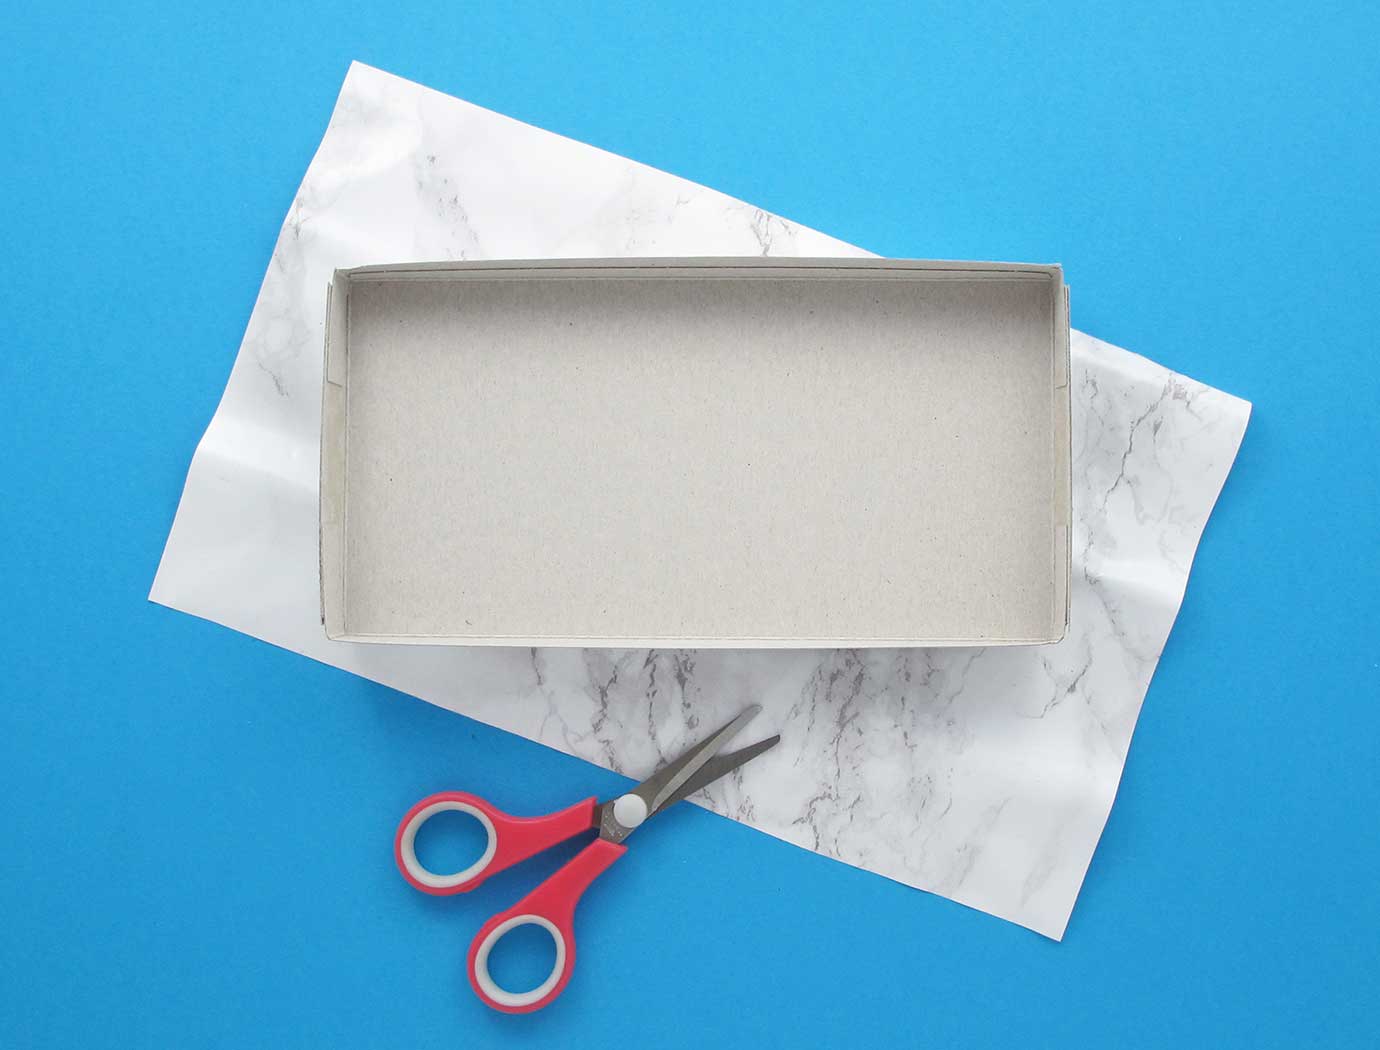
Once they look convincingly copper, trim some of the tubes with strips of marble-effect sticky-back plastic and leave the others plain.![diy makeup storage 04]() Carefully cut down the empty tissue box to make a shallow tray. You may need to stick the end flaps with glue if they come apart.
Carefully cut down the empty tissue box to make a shallow tray. You may need to stick the end flaps with glue if they come apart.![diy makeup storage 05]() Cut a piece of marble-effect sticky-back plastic to cover the sides and underside of the tray, and neatly stick in place. Paint the base with copper paint and leave to dry.
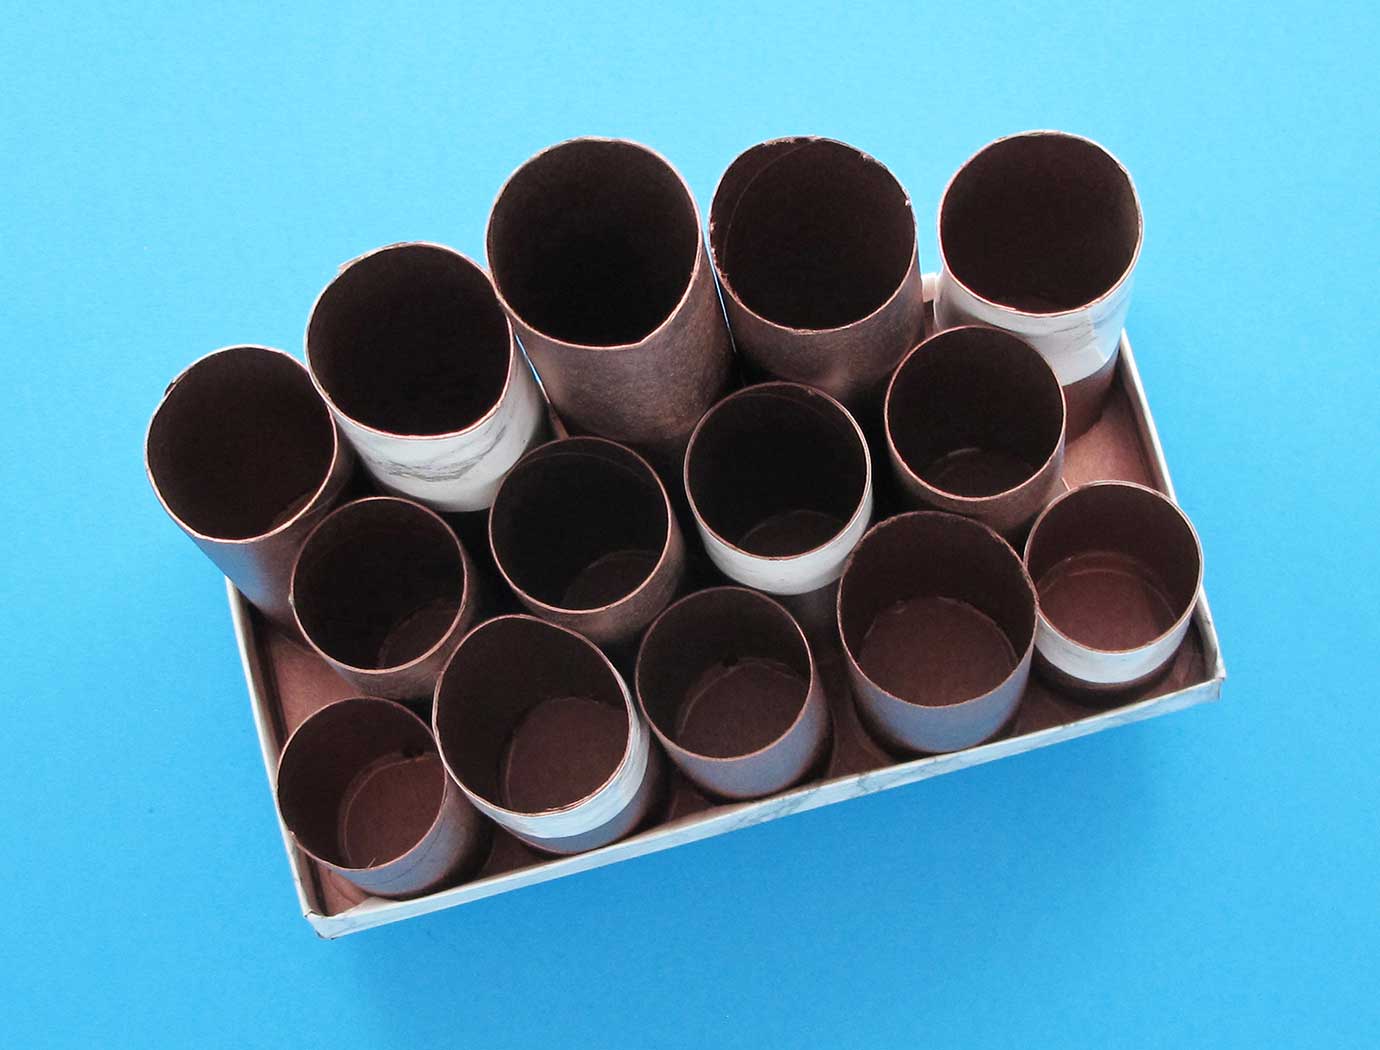
Cut a piece of marble-effect sticky-back plastic to cover the sides and underside of the tray, and neatly stick in place. Paint the base with copper paint and leave to dry.![diy makeup storage 06]() Finally, arrange the tubes inside the tray according to your preference, and stick them in place with glue.
Finally, arrange the tubes inside the tray according to your preference, and stick them in place with glue.
With this DIY makeup organiser, you’re now ready to save some serious time in your morning routine. By trying different makeup organiser ideas, not only will you create more storage for your cosmetics, but you’ll also have a beautiful DIY makeup brush holder to speed up makeup application. Now all that’s left to do is to have fun getting ready!
Did you find this article helpful?Thanks for your feedback!
or
Related articles
How to organise your desk for a clear mind
There’s how to organise your desk so it looks pretty, and then there’s how to organize desk spaces properly so they’re pretty and practical. Here’s how.

2 Cheap DIY Fancy Dress Ideas Kids Will Love
If you’re looking for children’s fancy dress costumes to make with household objects, follow these tutorials to create robot and unicorn costumes for kids.

How to Decorate Kids' Rooms for Easy Tidying
Looking for kids’ bedroom inspiration? Try out our fun monster shelf tidy and honeycomb storage boxes craft activities. Read on for instructions.

How to tidy your room: fun cleaning tips for kids
Parents on your case? If you need to learn how to tidy your room without getting bored, click here.

How to make your bathroom more relaxing
Use our bathroom relaxation ideas to turn the smallest room in the home into a calm haven. Read our tips on decluttering, organising and adding luxury.

What “reduce, reuse and recycle” means, and how to recycle
Learn what reduce, reuse, and recycle means, and how to be more sustainable by putting into practice these 3 R's of waste management – plus a fourth R!
