2 people found this helpful

No balloons need be harmed in the making of a DIY piñata . We’ll be showing you how to make a piñata with cardboard, using empty Cushelle facial tissue boxes. This fun design is perfect for anyone’s birthday party! Always wanted to know how to make a piñata? No prob-llama, simply read on…
Takes about 3 hours
What you’ll need
- 3 empty Cushelle tissue boxes
- Kitchen roll
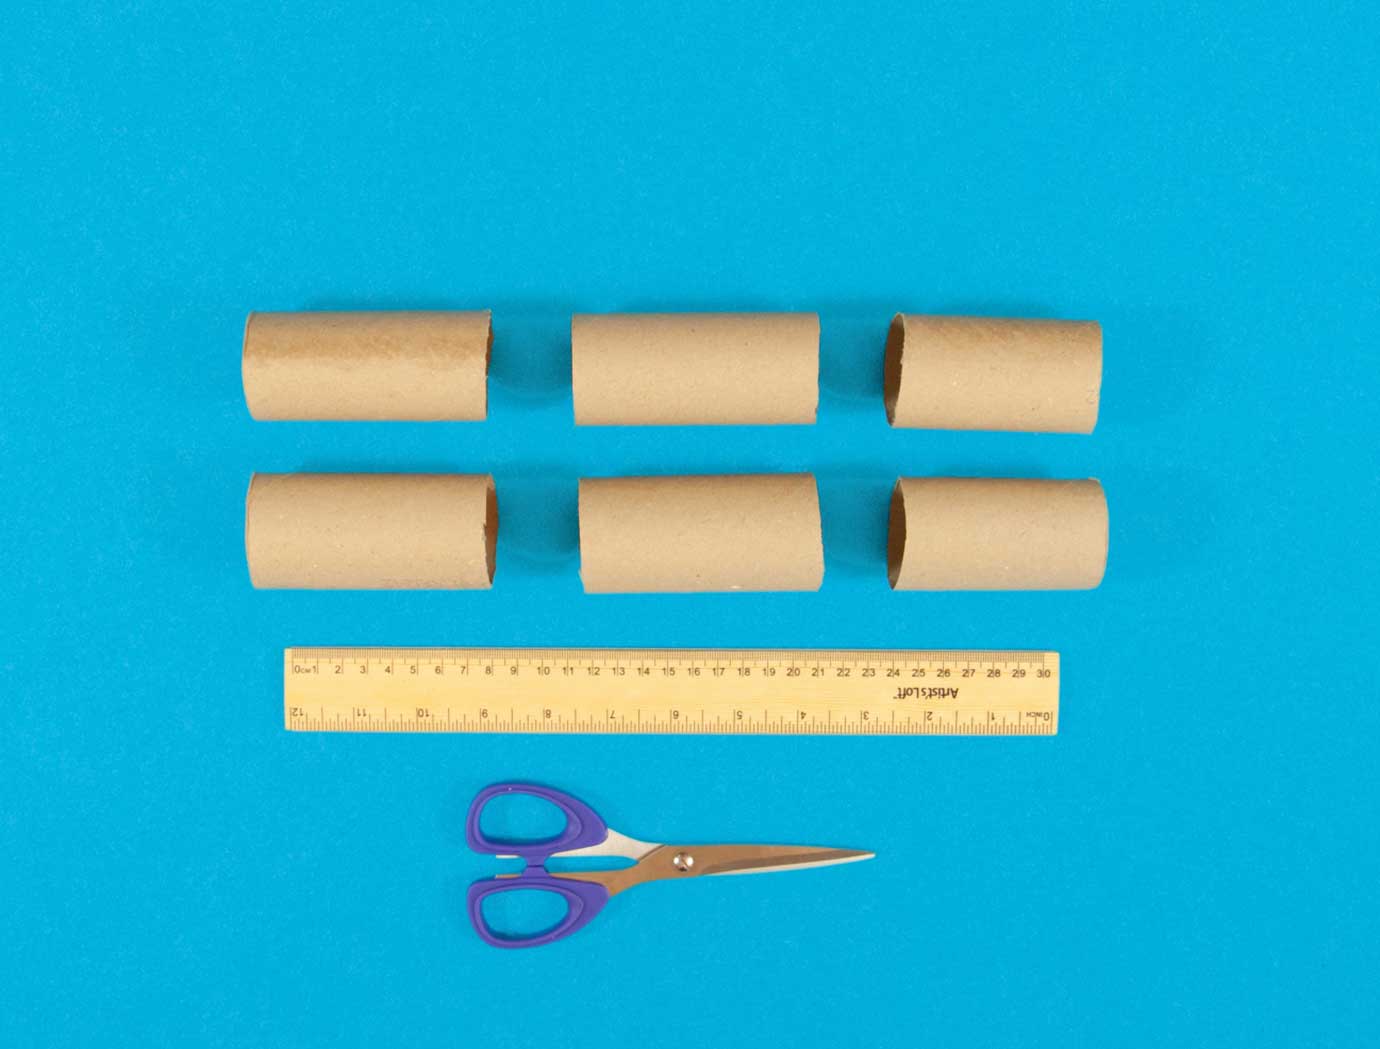
- 2 kitchen toll tubes
- Pencil
- Ruler
- Scissors
- Sticky tape
- Glue
- Paint brush
- Colouring pens
- String
- Pom poms
- Googly eyes
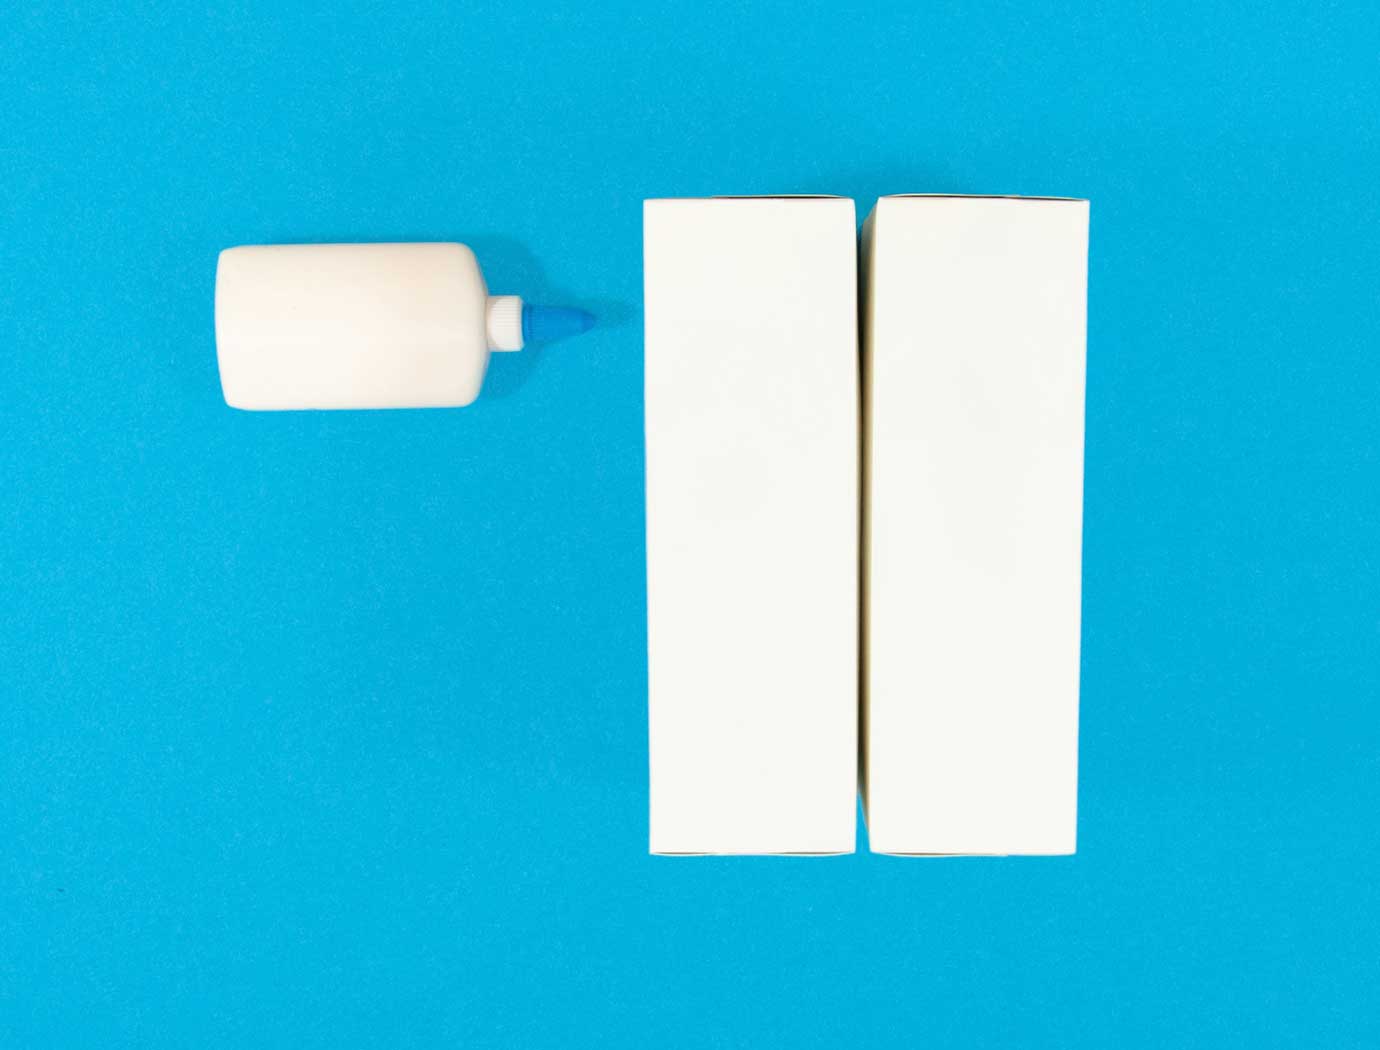
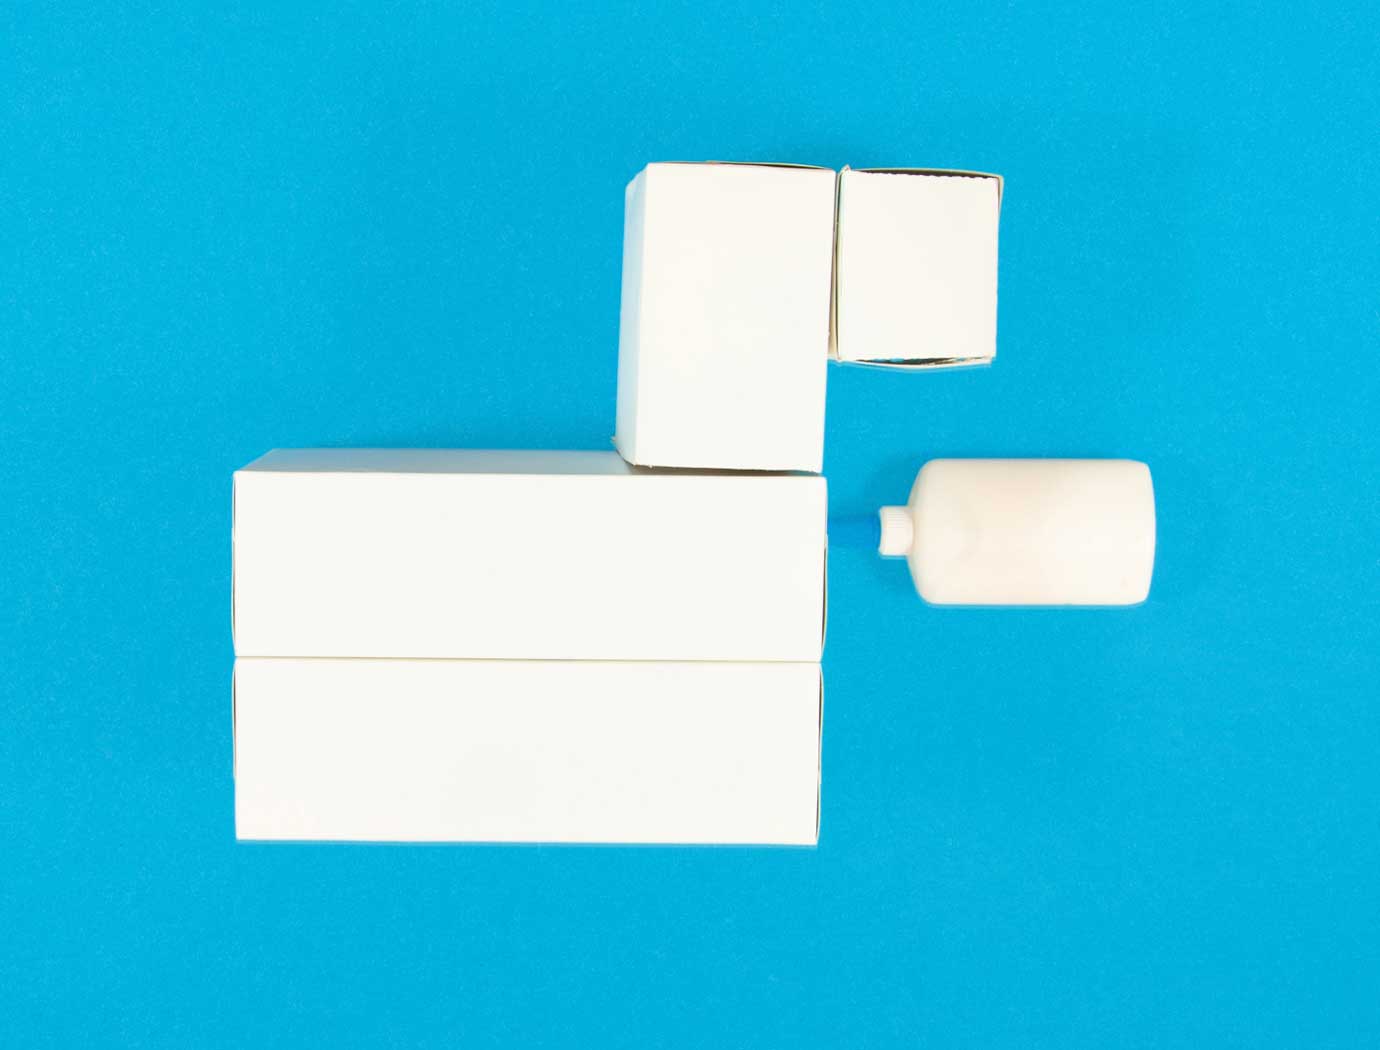
![how to make a pinata 01]() So, how do you make a piñata’s body? After all, it’s the most important part of your DIY piñata. Let’s say you’re making a llama piñata – take two of the empty Cushelle facial tissue boxes and stick them together with glue.
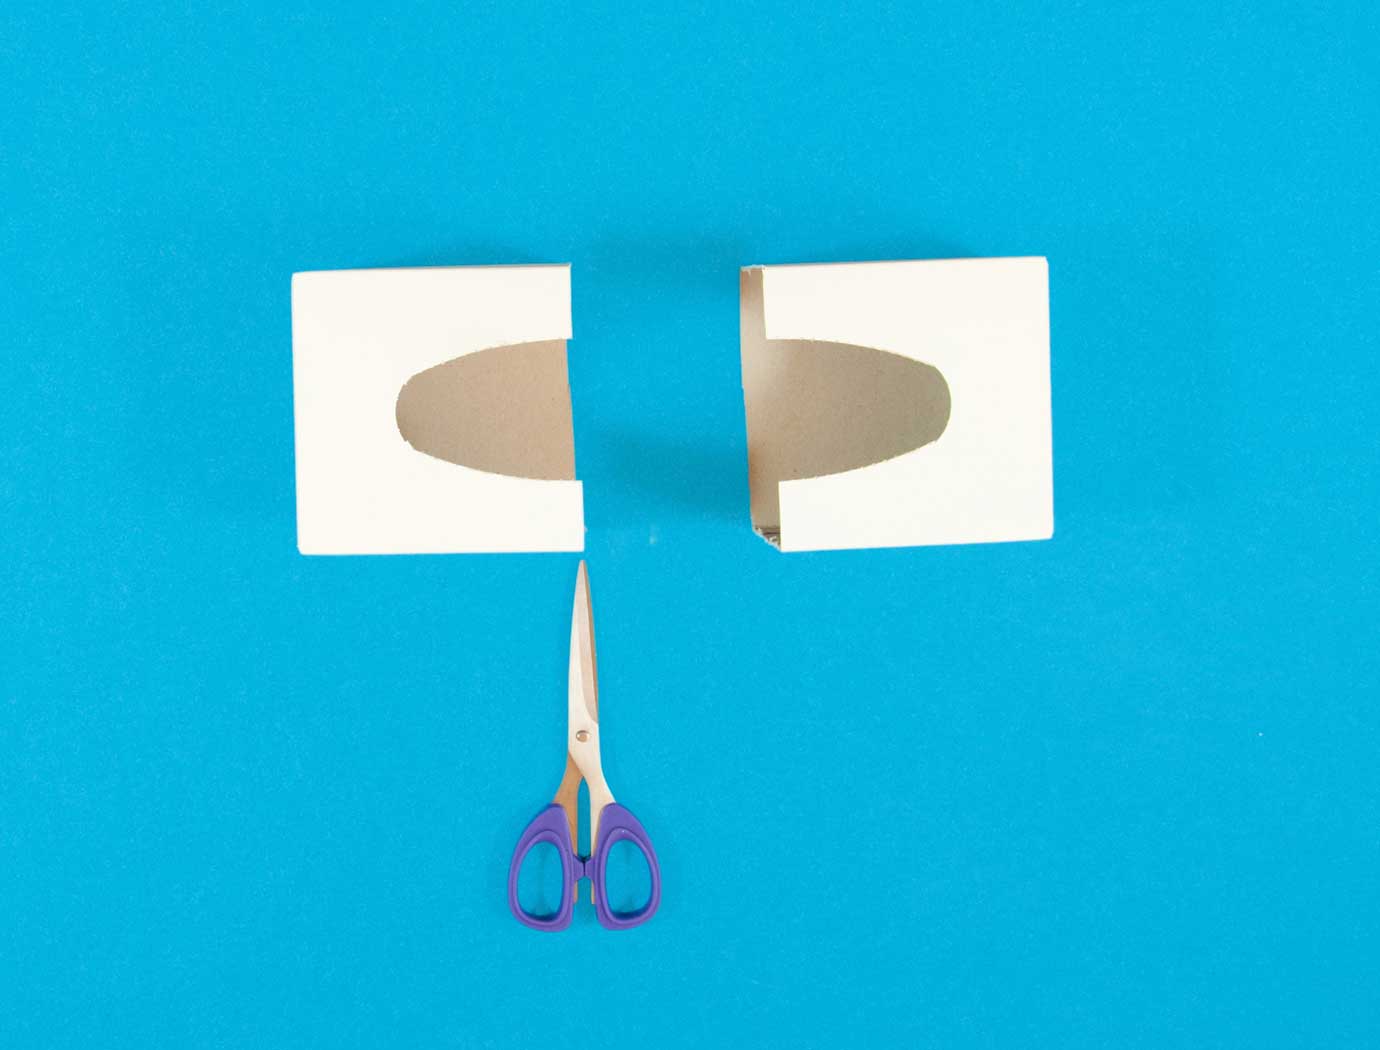
So, how do you make a piñata’s body? After all, it’s the most important part of your DIY piñata. Let’s say you’re making a llama piñata – take two of the empty Cushelle facial tissue boxes and stick them together with glue.![how to make a pinata 02]() Then, cut the remaining empty tissue box in half.
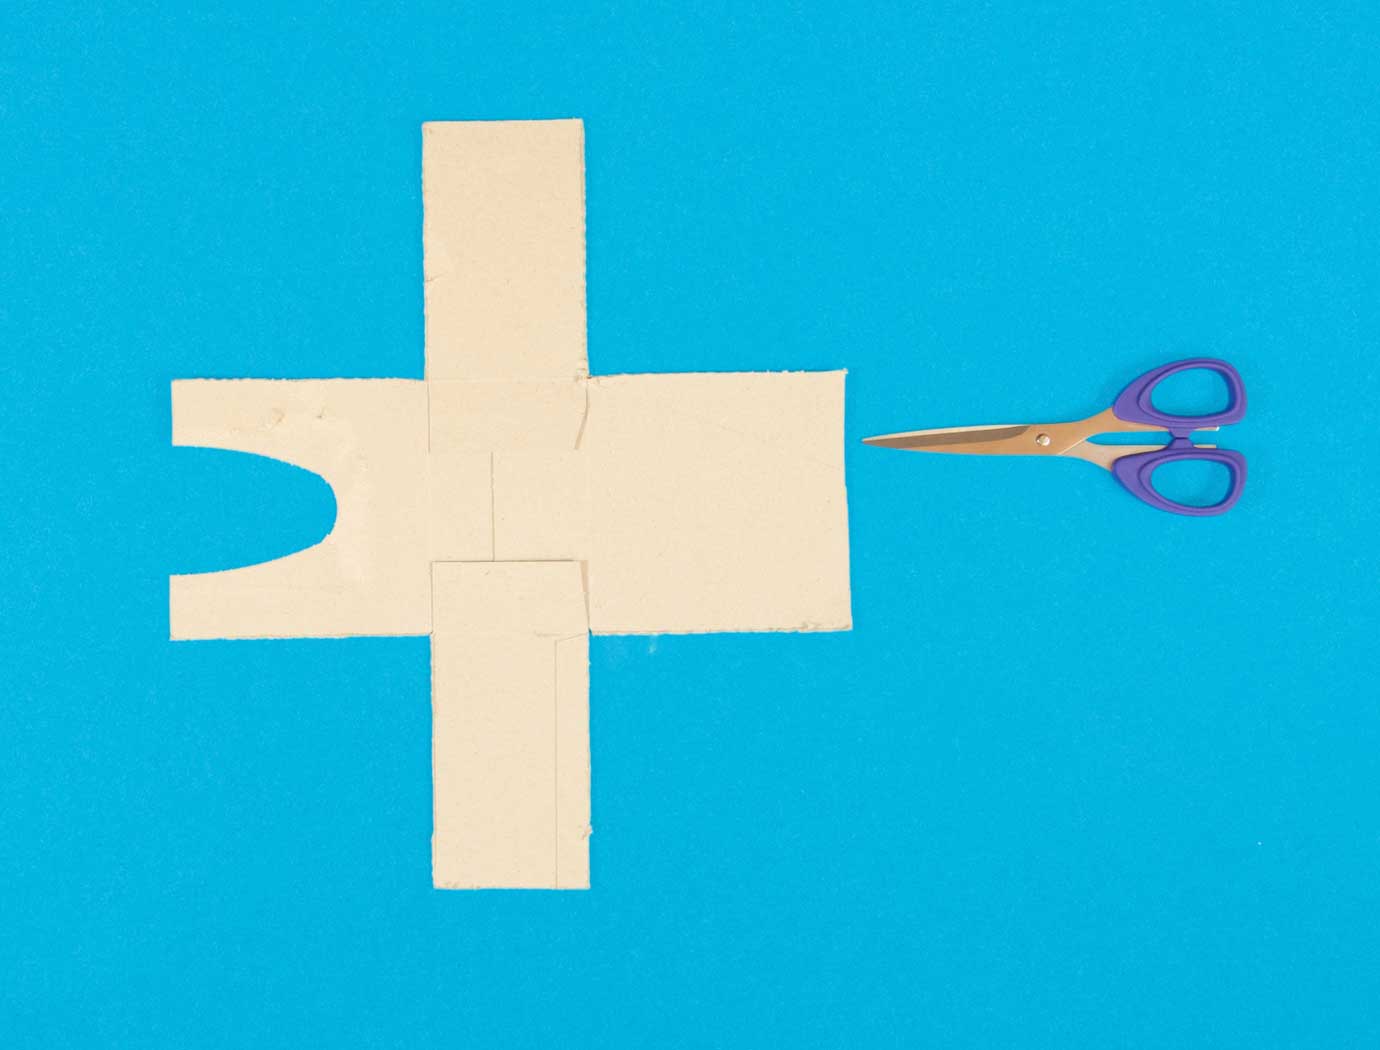
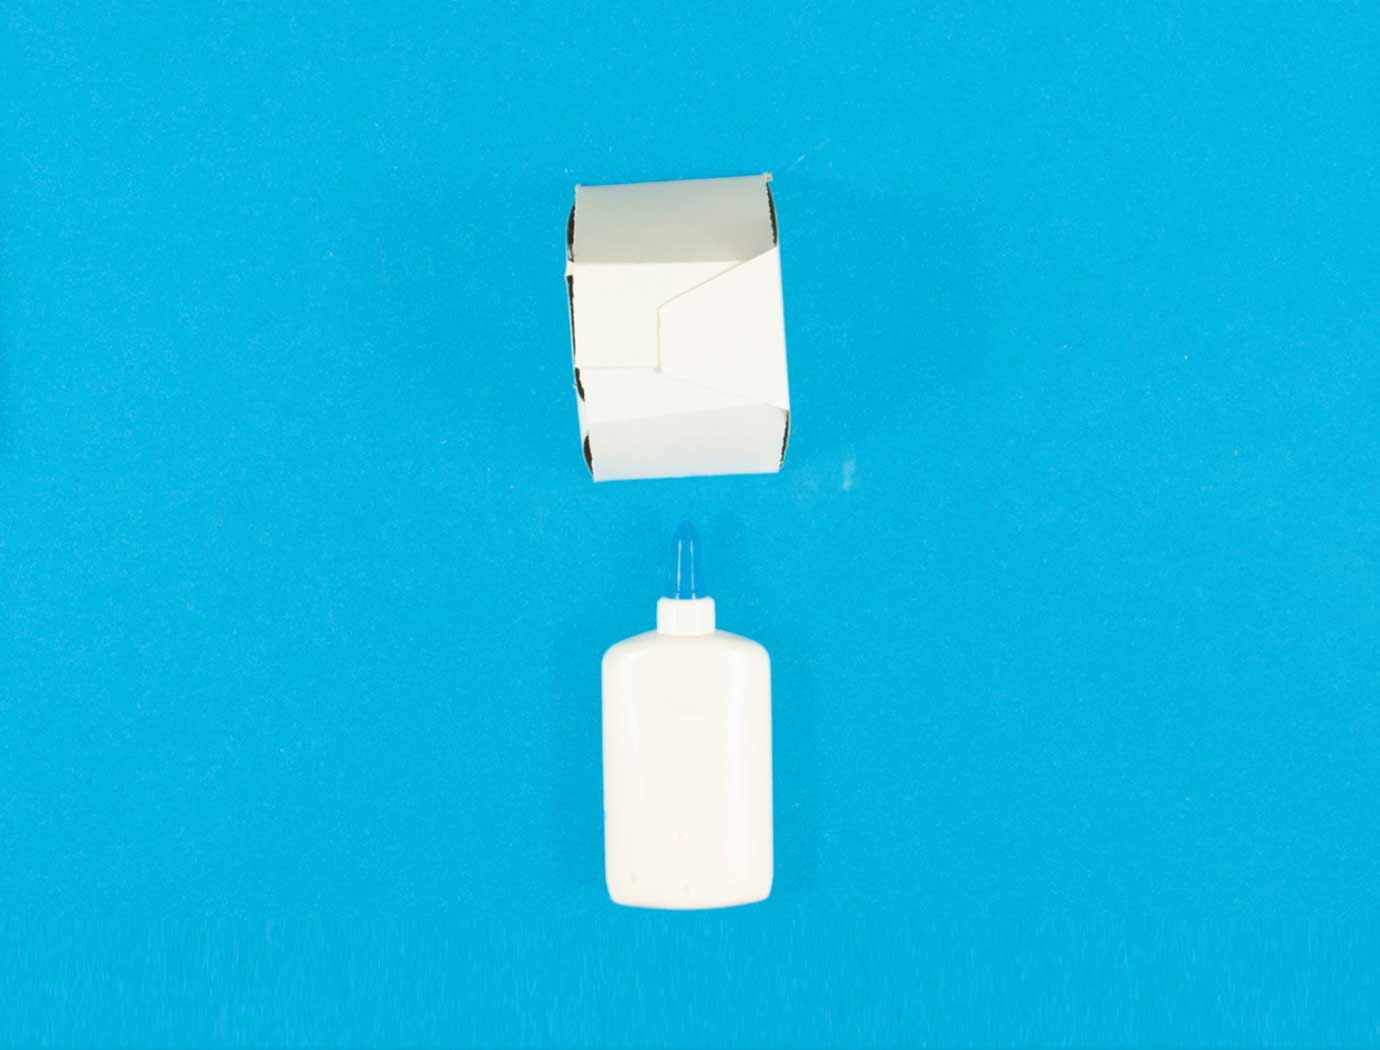
Then, cut the remaining empty tissue box in half.![how to make a pinata 03]() To make the llama’s nose, take one of the tissue box halves and cut along its four sides before opening it out flat: it should look like a cross.
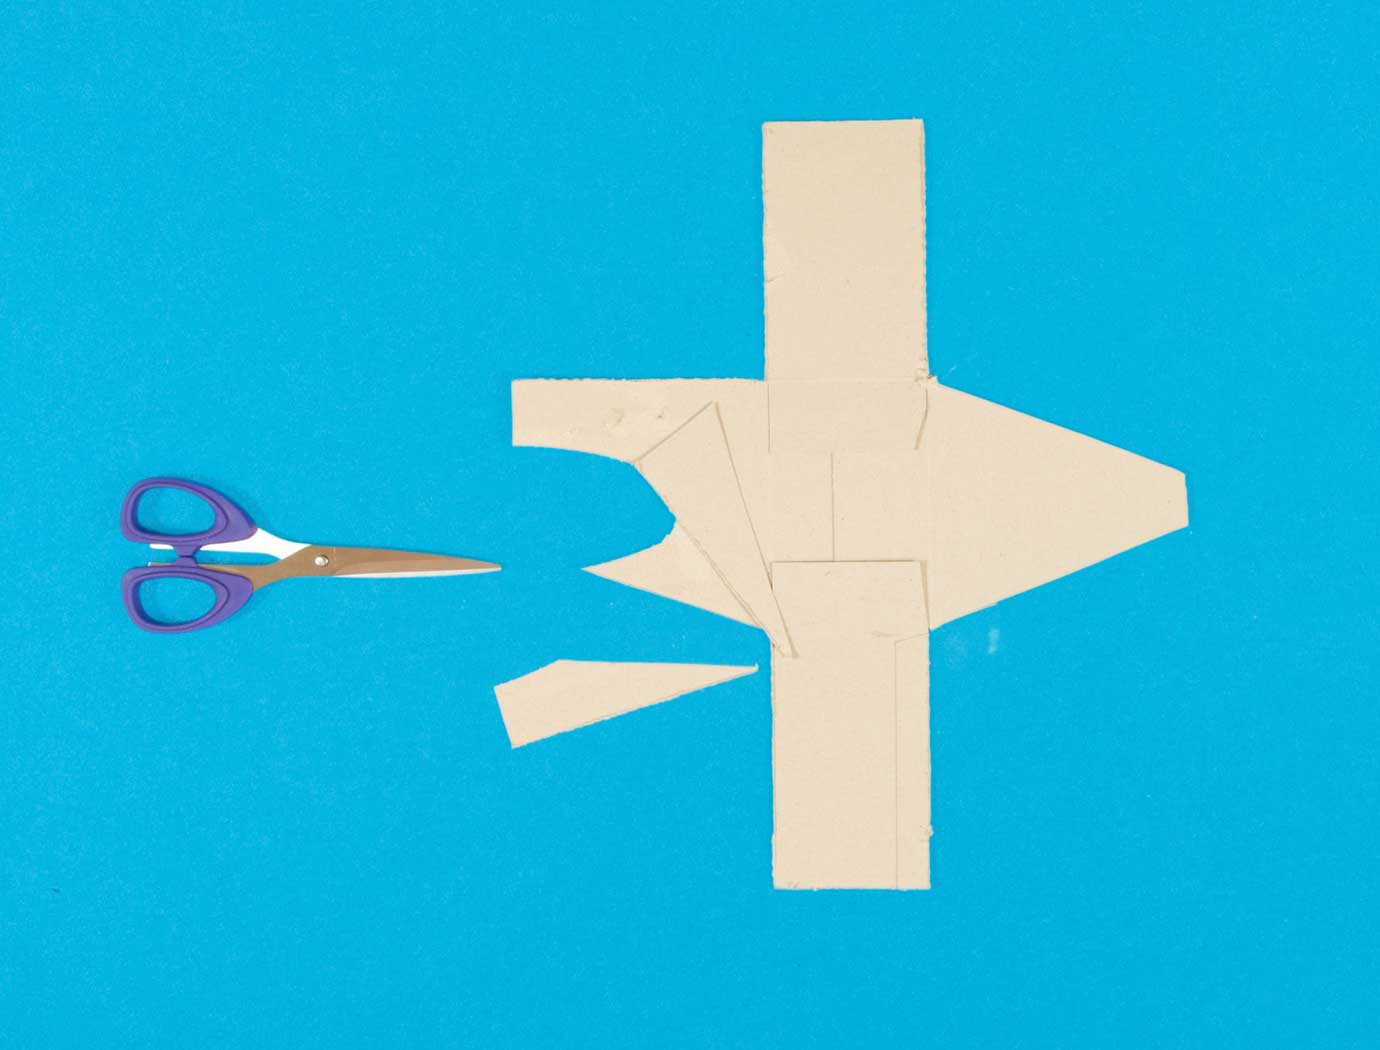
To make the llama’s nose, take one of the tissue box halves and cut along its four sides before opening it out flat: it should look like a cross.![how to make a pinata 04]() Then, cut a triangular section off the corners of the square sides.
Then, cut a triangular section off the corners of the square sides.![how to make a pinata 05]() Fold and stick the sides together with glue.
Fold and stick the sides together with glue.![how to make a pinata 06]() Next, glue the nose to the other half-section to form the head, and glue it to the body. Your piñata is really starting to take shape!
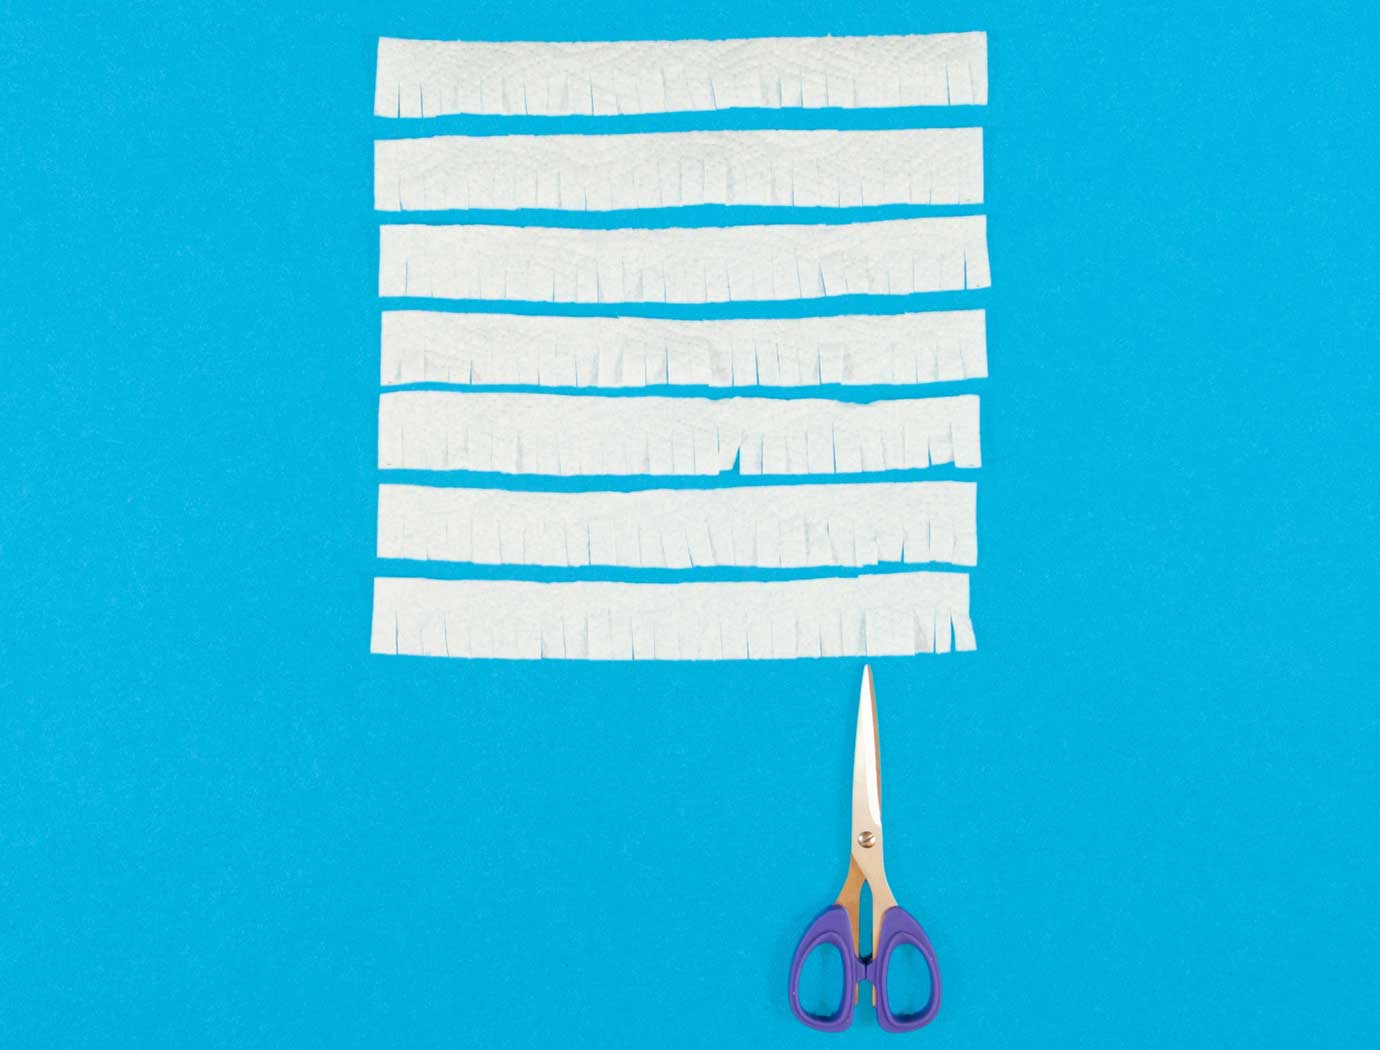
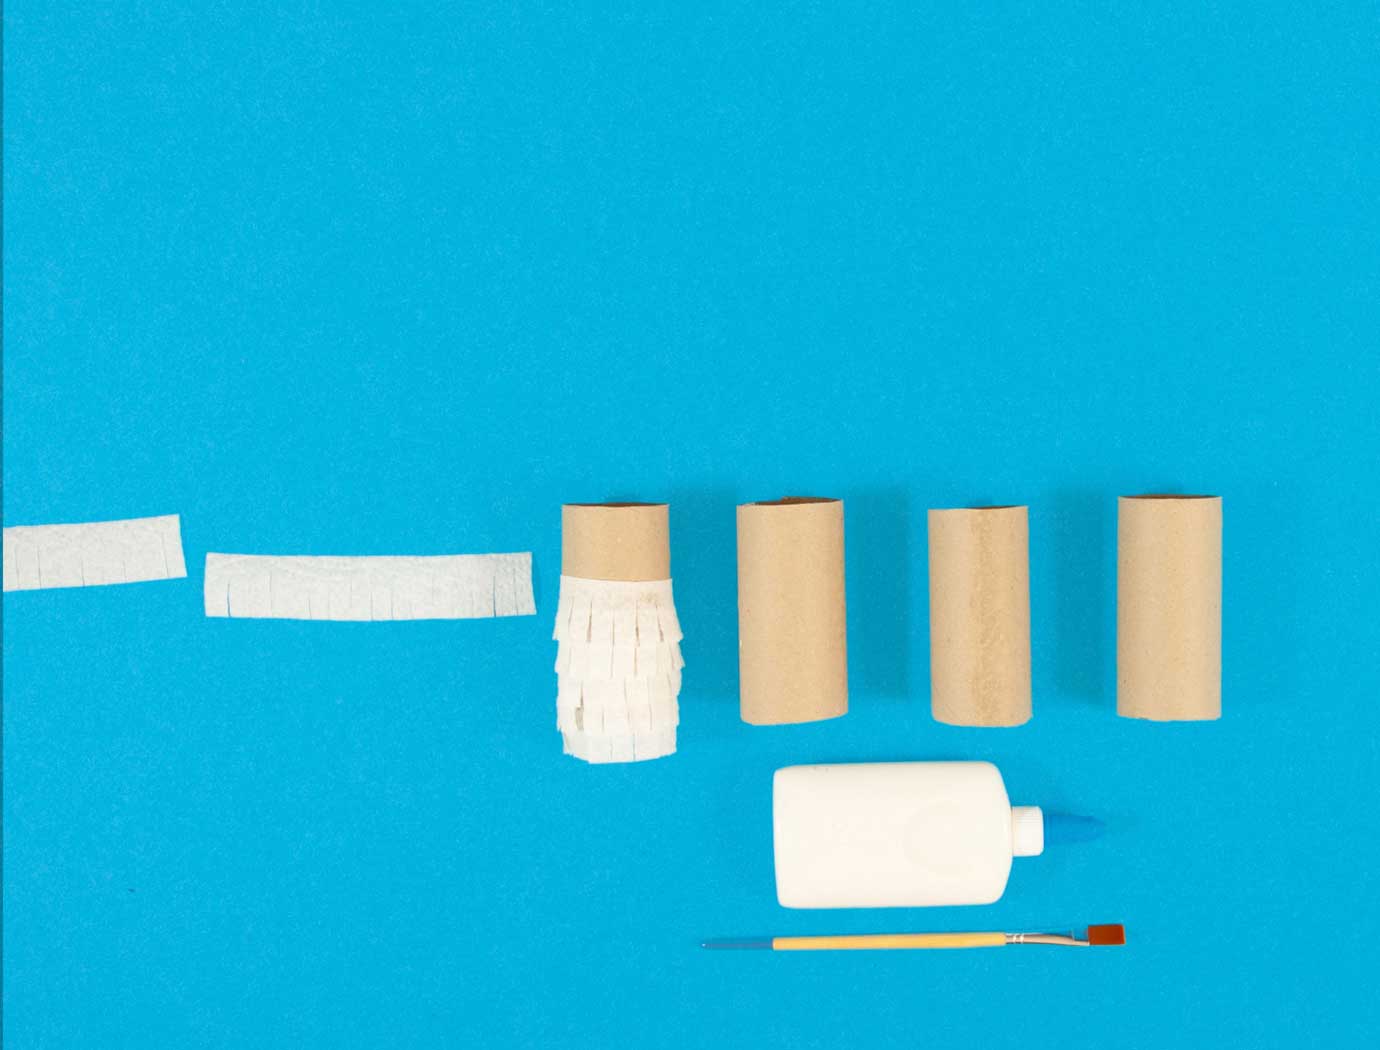
Next, glue the nose to the other half-section to form the head, and glue it to the body. Your piñata is really starting to take shape!![how to make a pinata 07]() Now to make the paper fringing. Measure and cut the kitchen paper into 3cm-wide strips. Make 2cm-long slits along each strip.
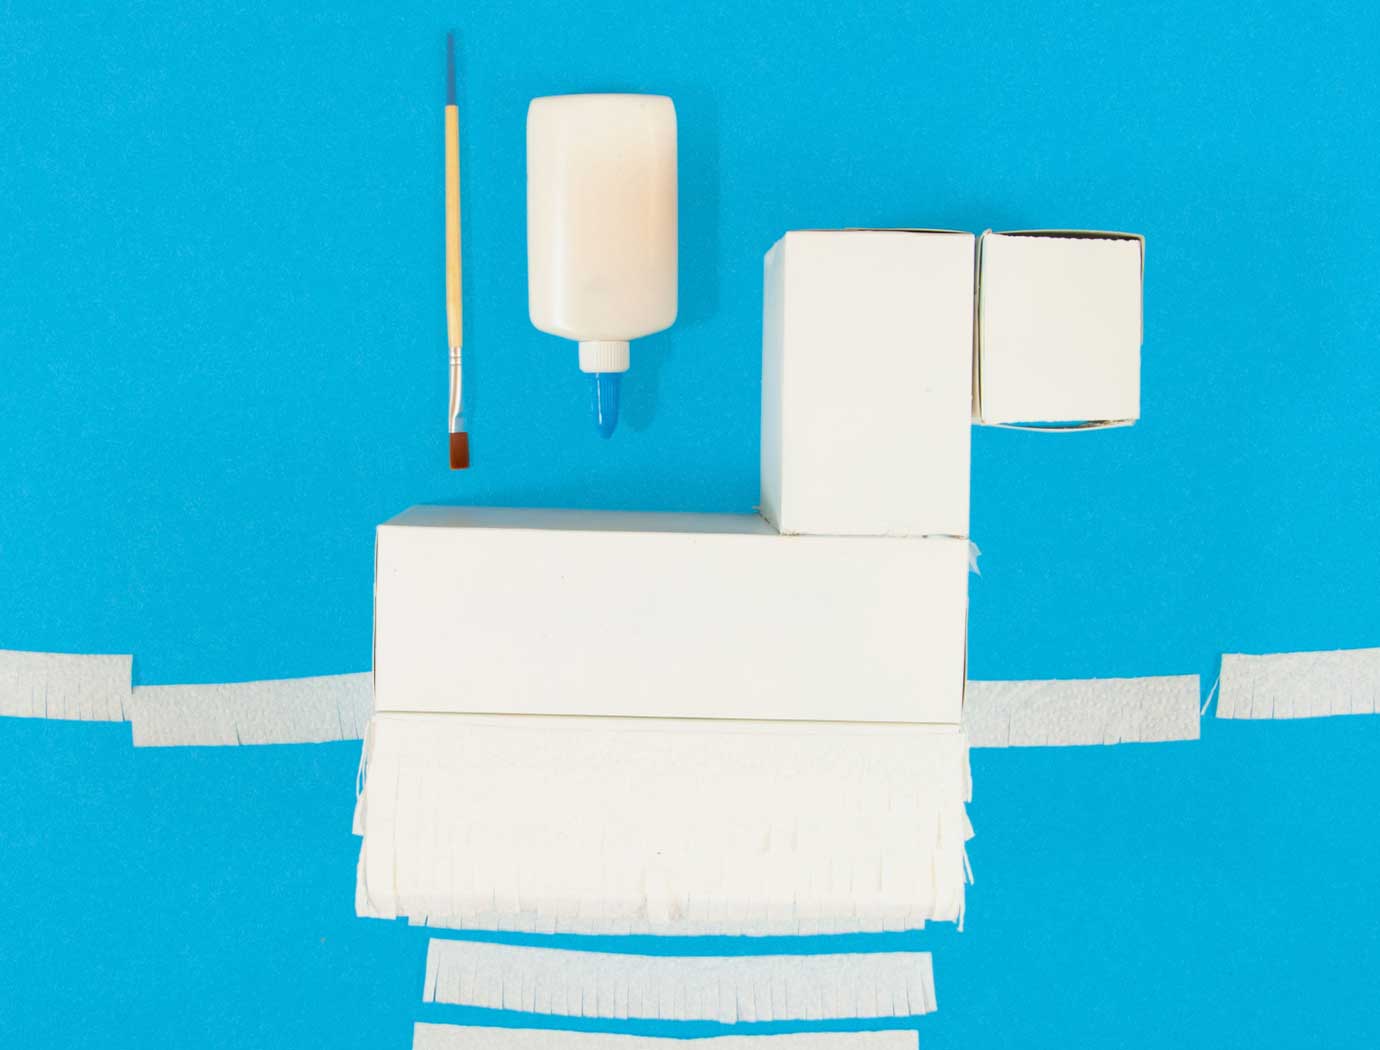
Now to make the paper fringing. Measure and cut the kitchen paper into 3cm-wide strips. Make 2cm-long slits along each strip.![how to make a pinata 08]() Then add glue to the llama, starting at the bottom, working around the body and up to the head.
Then add glue to the llama, starting at the bottom, working around the body and up to the head.![how to make a pinata 09]() To make the legs, first measure and cut the kitchen roll tubes into 9cm pieces, remembering to save one of the leftover pieces for the ears.
To make the legs, first measure and cut the kitchen roll tubes into 9cm pieces, remembering to save one of the leftover pieces for the ears.![how to make a pinata 10]() Glue fringing around the legs, and then stick them to the underside of the llama’s body.
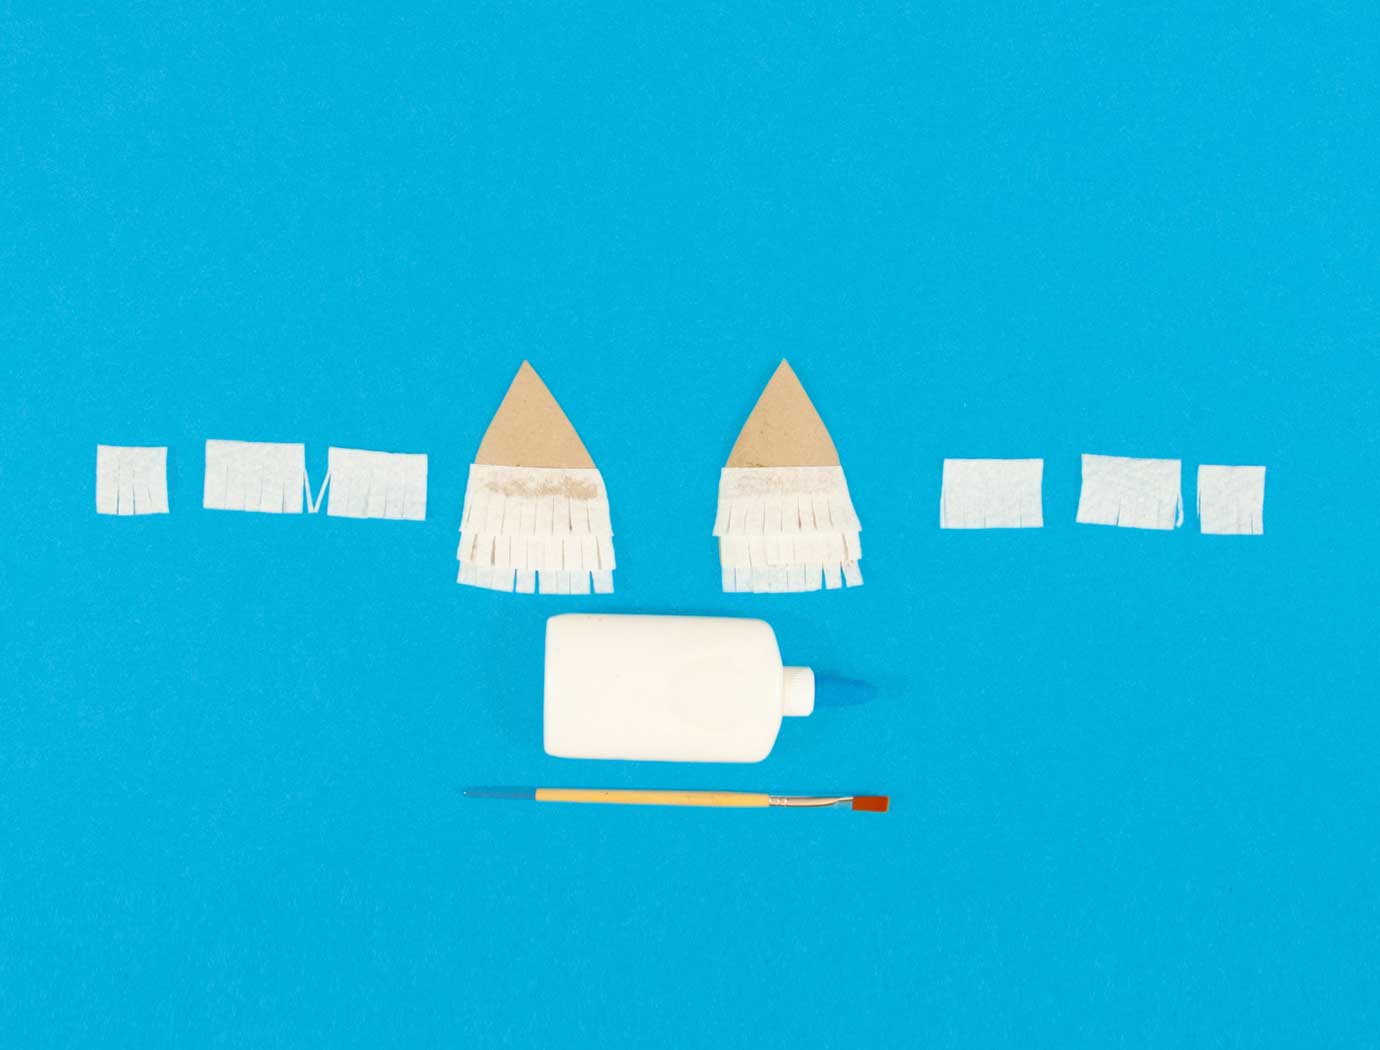
Glue fringing around the legs, and then stick them to the underside of the llama’s body.![how to make a pinata 11]() Next, draw and cut out two ears from the leftover piece of kitchen roll tube, cover with fringing and glue to the llama’s head.
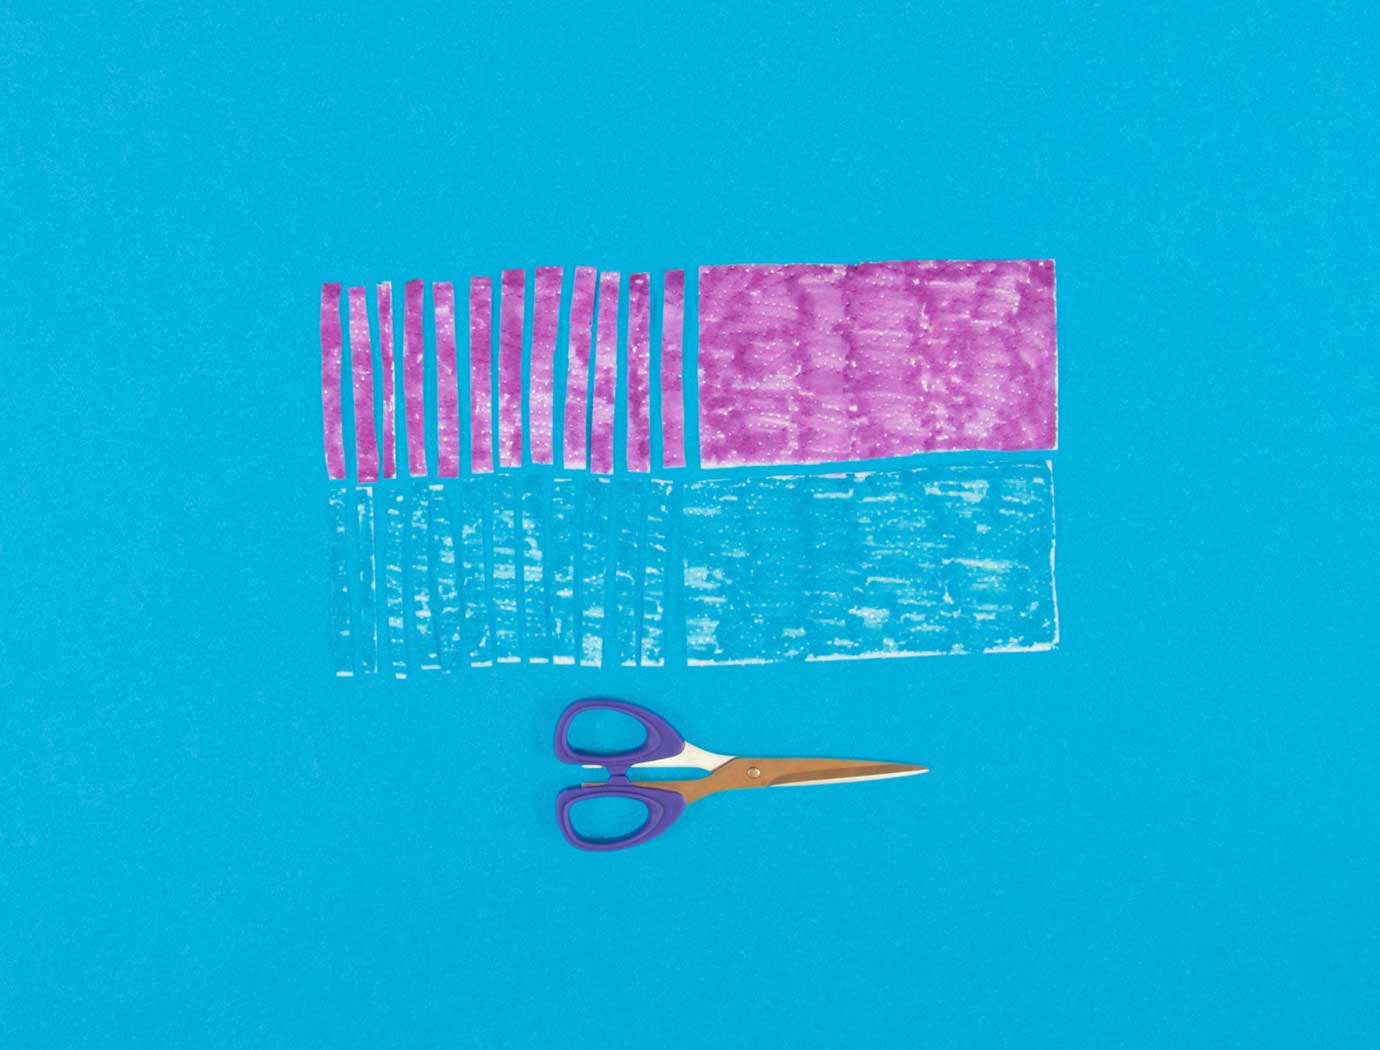
Next, draw and cut out two ears from the leftover piece of kitchen roll tube, cover with fringing and glue to the llama’s head.![how to make a pinata 12]() Now the fun part! Time to decorate your DIY piñata craft and bring your llama to life! To make some paper tassels, colour a sheet of kitchen paper with pens and cut into 1/2cm strips. Place four strips together and fold over and twist at the top. Then tie some string around the llama’s head and neck and glue the tassels in place.
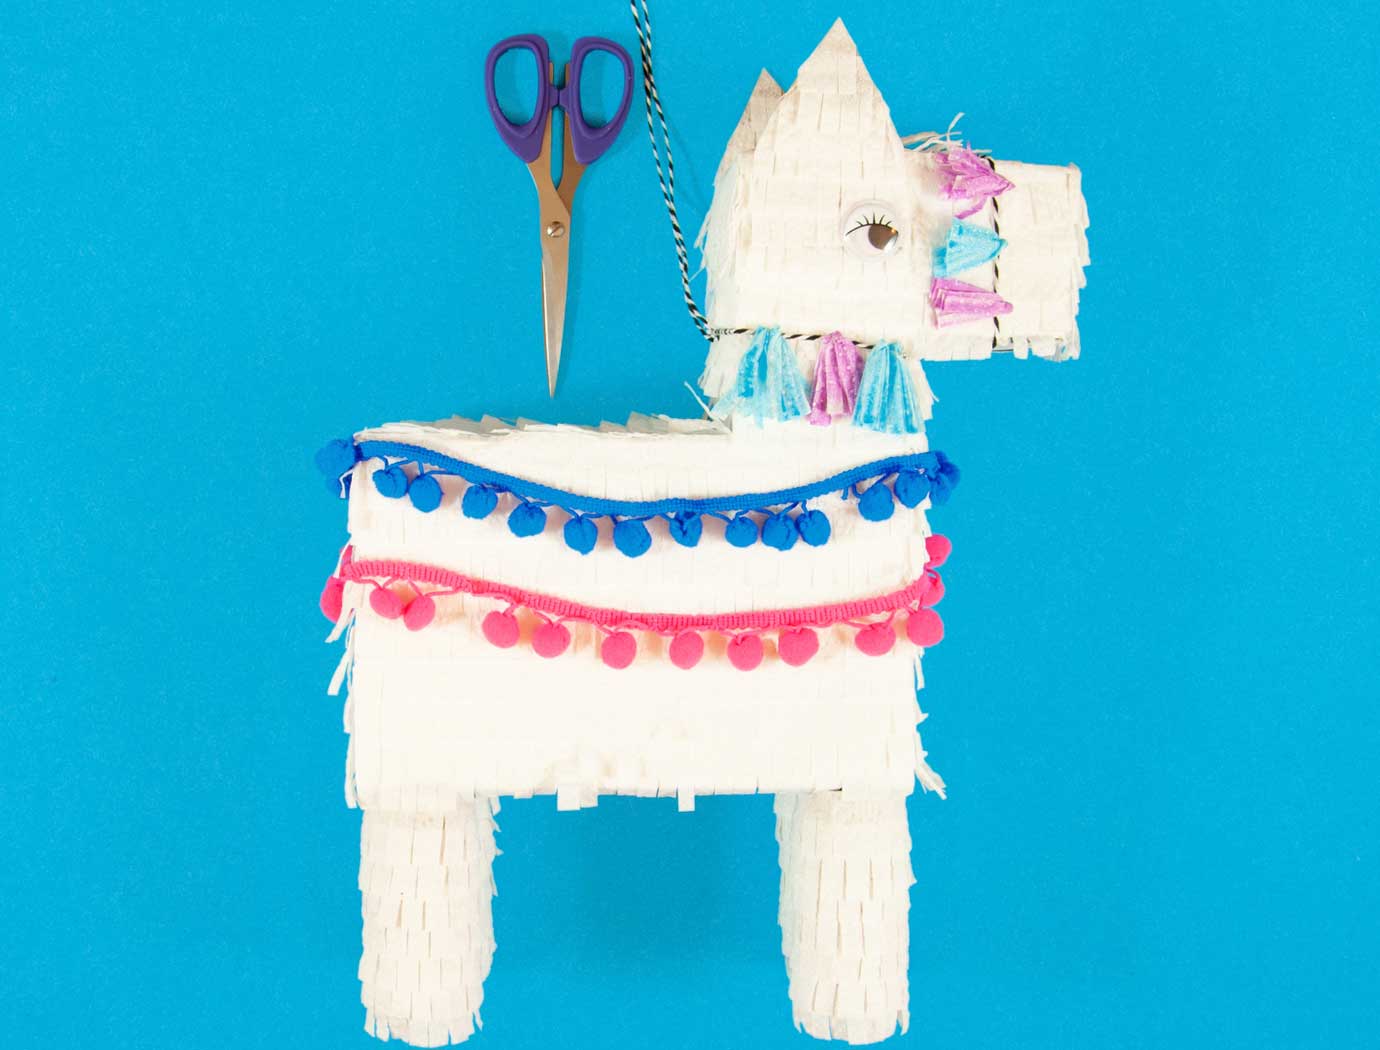
Now the fun part! Time to decorate your DIY piñata craft and bring your llama to life! To make some paper tassels, colour a sheet of kitchen paper with pens and cut into 1/2cm strips. Place four strips together and fold over and twist at the top. Then tie some string around the llama’s head and neck and glue the tassels in place.![how to make a pinata 13]() Add some pom pom trimming around the body and add googly eyes to the head.
Add some pom pom trimming around the body and add googly eyes to the head.![how to make a pinata 14]() The final step in how to make your own piñata is to cut an opening in the top and fill with sweets and confetti, before taping it shut.
The final step in how to make your own piñata is to cut an opening in the top and fill with sweets and confetti, before taping it shut.

It’s time to have fun together and celebrate your DIY piñata craft! Now you know how to make your own piñata; you’re only going to get better!
Did you find this article helpful?Thanks for your feedback!
or
Related articles
How to make toilet roll puppets: easy steps for kids
This easy tutorial shows you how to make a puppet with string, paint and toilet rolls. Puppet making for kids is simple with these DIY toilet roll puppets.

Painting for Kids: Easy Painting Ideas for Little Artists of All Ages
No matter their age, painting for kids is always a big hit, but where to begin? Get inspired with our painting ideas for kids of all ages.

Smart and Crafty Activities for 5-Year-Olds
Learn how to make binoculars and a watch out of household objects in these two tutorials that are the perfect rainy-day activities for 5-year-olds.

5 fun family games to play at home
These fun family games are suitable for every occasion, from Halloween and Christmas to casual Sundays. Click for 5 family games to play at home.

2 scarily simple Halloween crafts for kids
Looking for Halloween craft ideas for children? Read this step-by-step guide on how to make spooky spiders and a haunted house.

2 Easy Easter Crafts for Kids
Want to know how to fold a paper napkin? Look no further. Folding paper napkins is easy, even for kids, with our guides to folding paper napkin lotuses and cutlery cones.
