7 people found this helpful

When it comes to traditional Christmas crafts, ‘easy’ and ‘fast’ aren’t always the words that spring to mind. But there are plenty of quick, creative decorations you can make together as a family, all guaranteed to get you all in a festive mood. Here are two of our favourite Christmassy things to make using everyday recycled items.
2 decorative Christmas crafts for children
These simple crafts are fun for everyone – dads, mums, and boys and girls alike – so make sure everyone has the chance to get stuck in and help out!
magical snowflake | toilet roll Santa
How to make a magical snowflake
What you’ll need
- Toilet roll
- Ruler
- Pencil
- Scissors
- Glue
- Paint brush
- White paint
- White glitter
- Silver string
-

-

-

-

-

How to make a toilet roll Santa
Among the truly classic crafts for Christmas, our cheery Santa decoration complete with big fluffy beard will be a big hit with younger crafters … simply grab an empty toilet roll, a tissue, some paper and pens and get making!
What you’ll need
- Toilet roll cores
- One A4 sheet each of red, white, black and pink paper
- A black felt tip pen
- A gold gel pen, or some gold glitter glue
- Tissue (Cushelle facial tissues are ideal)
- A glue stick
- Some PVA glue
- Double-sided tape
- A piece of red, white, black or gold thread or string (optional)
While you and your little ones work on these handcrafts for Christmas, remember to glue down the edges of your papers so they line up. This will make your Santa look much neater!
-

-

-

-

-

-

Cushelle facial tissues are as strong as they are soft, making them perfect for Santa’s beard. They’ll hold together and still look fluffy, however much glue you use!
Once you’re finished, help the kids lead the clean-up process, wiping up any spillages with some moistened paper towel. Then step back and bask in the warm glow of Santa’s festive spirit, or start making him some friends! It’s easy to adapt the method above to make reindeer, snowmen and elves, so before long, your house will be looking a lot like the North Pole. When the real Santa comes, he’ll feel right at home.
Related articles
2 Easy Pom Pom Crafts: Making pom poms with wool
Learn how to make pom poms with cardboard and wool using empty toilet rolls and empty boxes. Making pom poms with recycled materials is easy when you know how!

How to make puppets for kids: 10 easy steps for the best toilet roll puppets
This easy tutorial shows you how to make a puppet with string, paint and toilet rolls. Puppet making for kids is simple with these DIY toilet roll puppets.

2 Creative Kids' Birthday Decoration Ideas
Learn how to make homemade party decorations with bunting and piñata DIY birthday decoration tutorials. Click here for these party decoration ideas for kids.

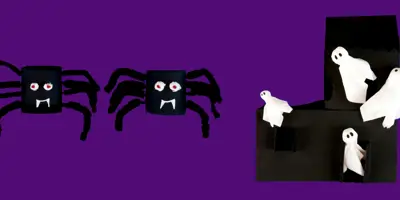
2 scarily simple Halloween crafts for kids
Looking for Halloween craft ideas for children? Read this step-by-step guide on how to make spooky spiders and a haunted house.
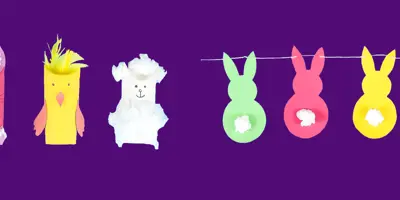
2 Easy Easter Crafts for Kids
Want to know how to fold a paper napkin? Look no further. Folding paper napkins is easy, even for kids, with our guides to folding paper napkin lotuses and cutlery cones.
2 Mother’s Day Craft Ideas She’ll Keep Forever
Follow two easy Mother's Day craft tutorials to learn how to make a dressing table tidy and 3D heart canvas. Click here for Mother's Day craft ideas for toddlers.
